
Use your actual body photo
Test the design on an arm, shoulder, back, leg, or another area you are really considering—not a generic avatar.
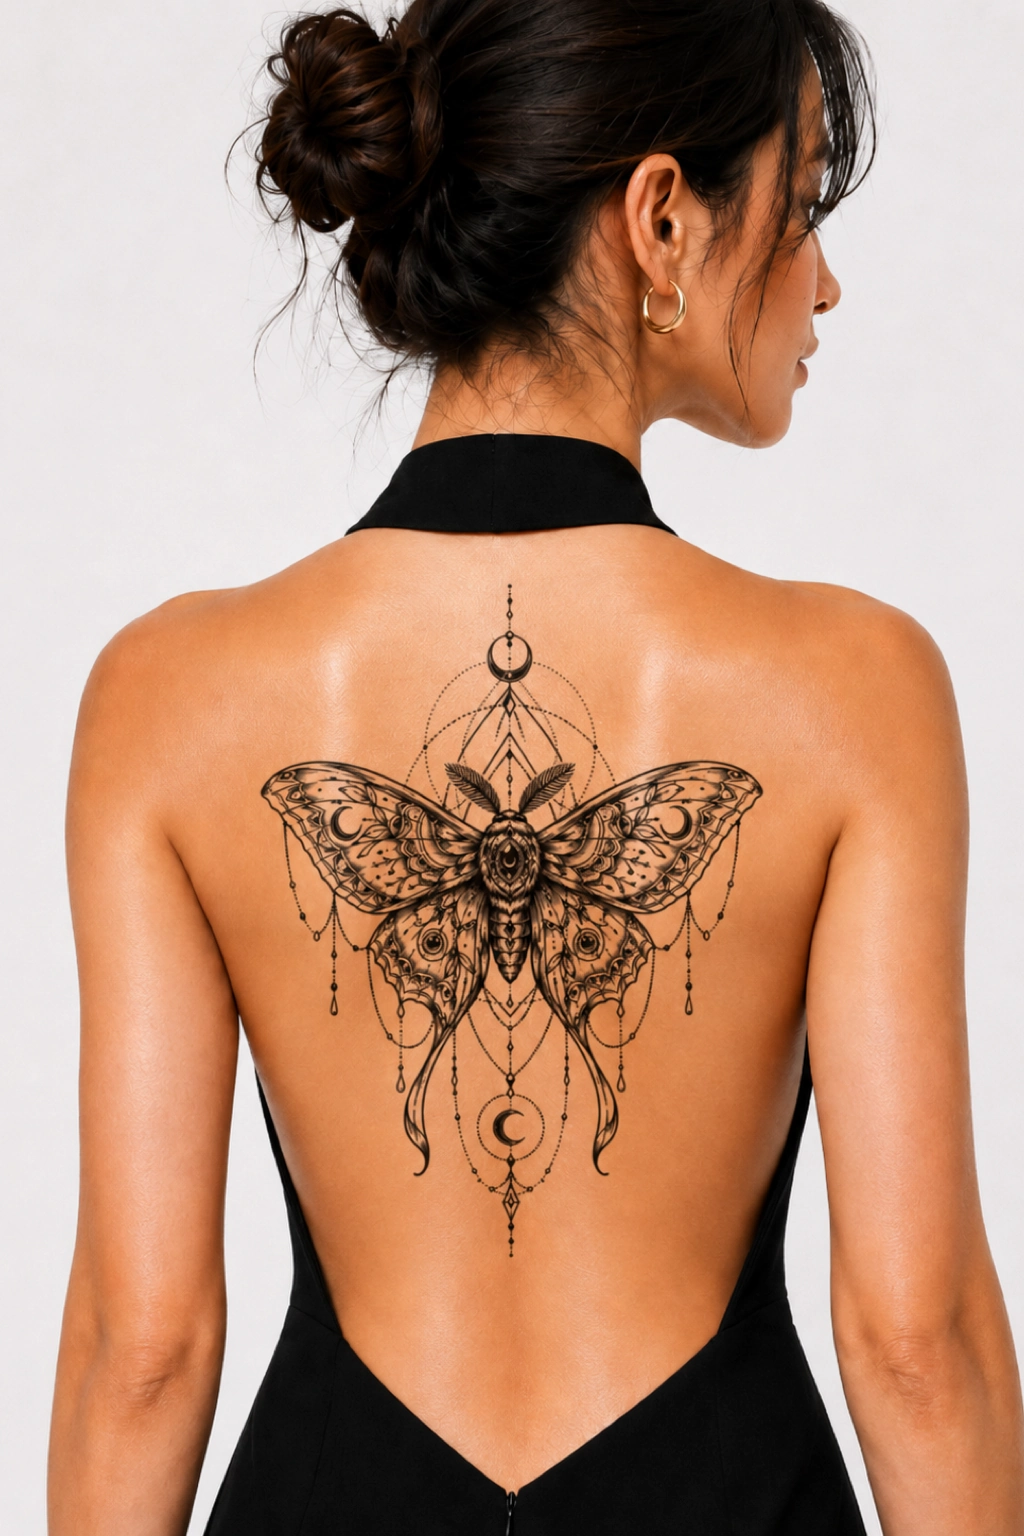
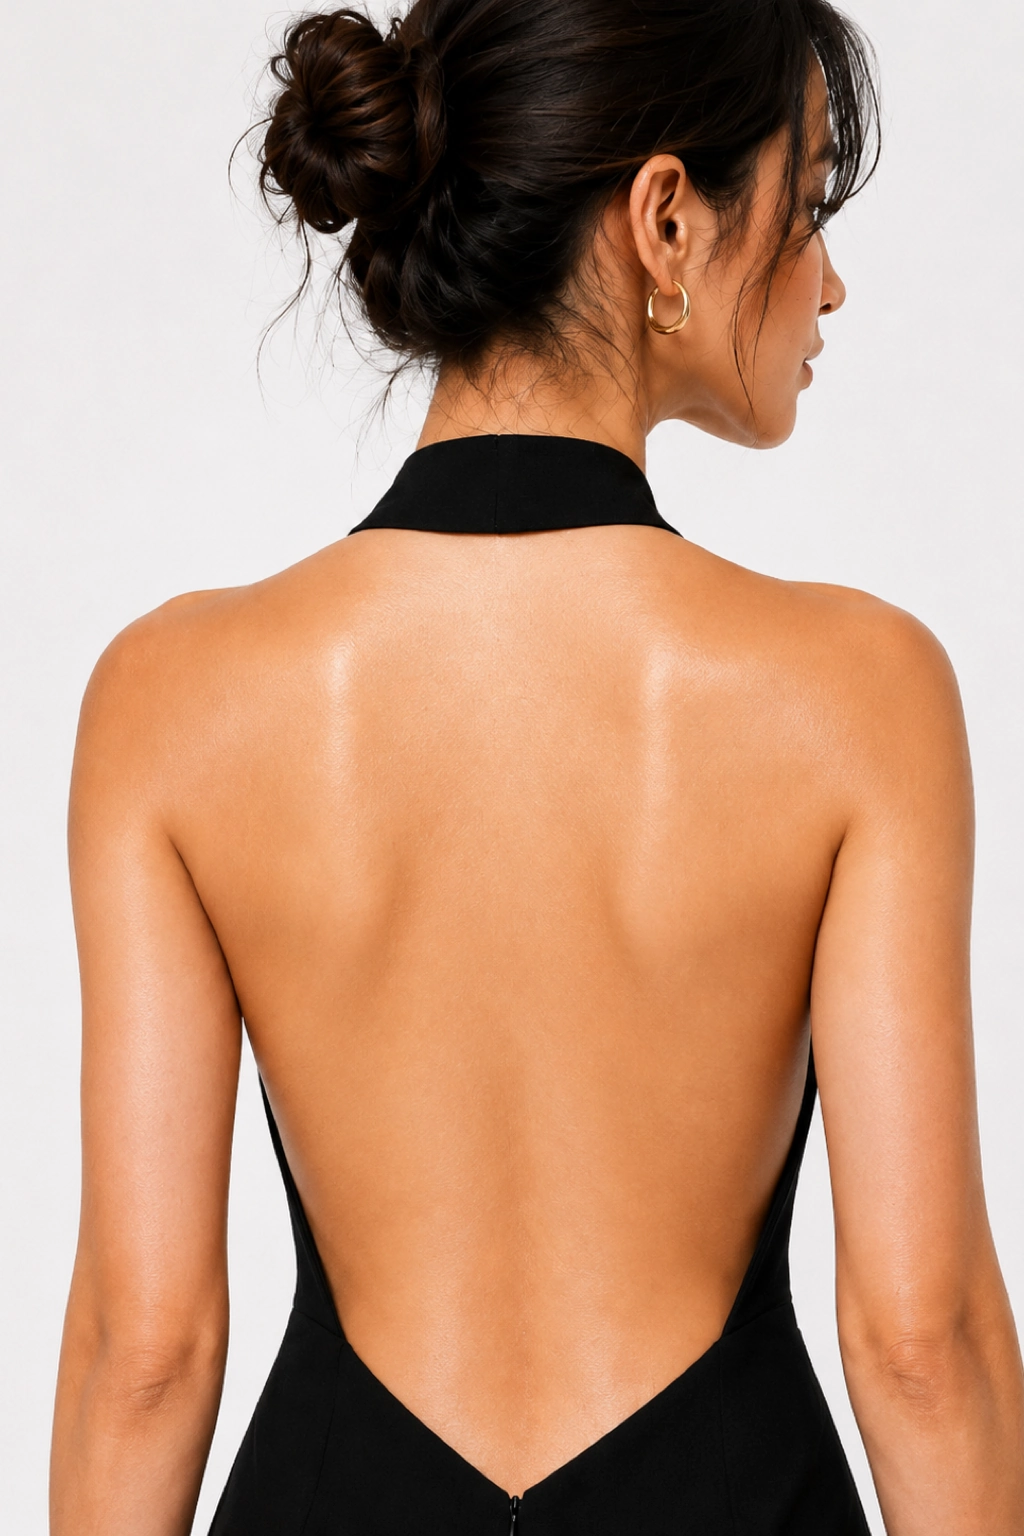
Tattoo try on planner
Use this tattoo simulator to preview an existing design on a body photo before your appointment. Start with a demo photo or add your own, then move, resize and rotate the artwork. Download the PNG to compare placements or discuss your idea with a tattoo artist.
Try a fine-line drawing on a wrist, a larger piece on a shoulder, or the same design in two different spots. Looking at the body photo alongside the artwork can reveal awkward gaps, a crowded area or a better direction to discuss with your artist.
Use the tattoo simulator to compare the design’s negative space against nearby joints, existing ink, clothing lines and the natural direction of a muscle or limb. Save different placements to see which composition fits the area you are considering.
Test the design on an arm, shoulder, back, leg, or another area you are really considering—not a generic avatar.
Drag, resize and rotate the artwork to compare a smaller placement with a larger version or a different orientation.
Save the preview to discuss size, orientation, and the surrounding space with your tattoo artist.
Before Try-on How it works
This tattoo simulator focuses on placement planning. You choose the body photo and artwork, then adjust how they fit together.
Choose a well-lit photo of the body area, then add a PNG, JPG, or WebP tattoo design. You can also begin with a demo photo.
Move the tattoo onto visible skin and refine the scale and angle. Test the visual balance rather than trying to predict an exact finished result.
Download the preview and use it as a starting point for a conversation with your tattoo artist, who can advise on the final design and placement.
For a clearer tattoo simulator preview, start with a straightforward image. A phone photo is enough when the intended skin area, lighting, and perspective are easy to read.
After a tattoo try on, share the saved image with your artist alongside the original design. They can check whether the line weight, detail, and placement will work well with the shape of your body and the way the skin moves.
Avoid strong flash, deep shadows, or filters that hide the edges of the skin area you want to test.
Keep the arm, shoulder, back, or leg as square to the camera as possible so size and angle are easier to judge.
A high-contrast design with clean edges makes it easier to see how the lines and negative space sit on skin. If you’re starting with a photo or sketch, use our tattoo stencil maker to create clean linework before trying it on.
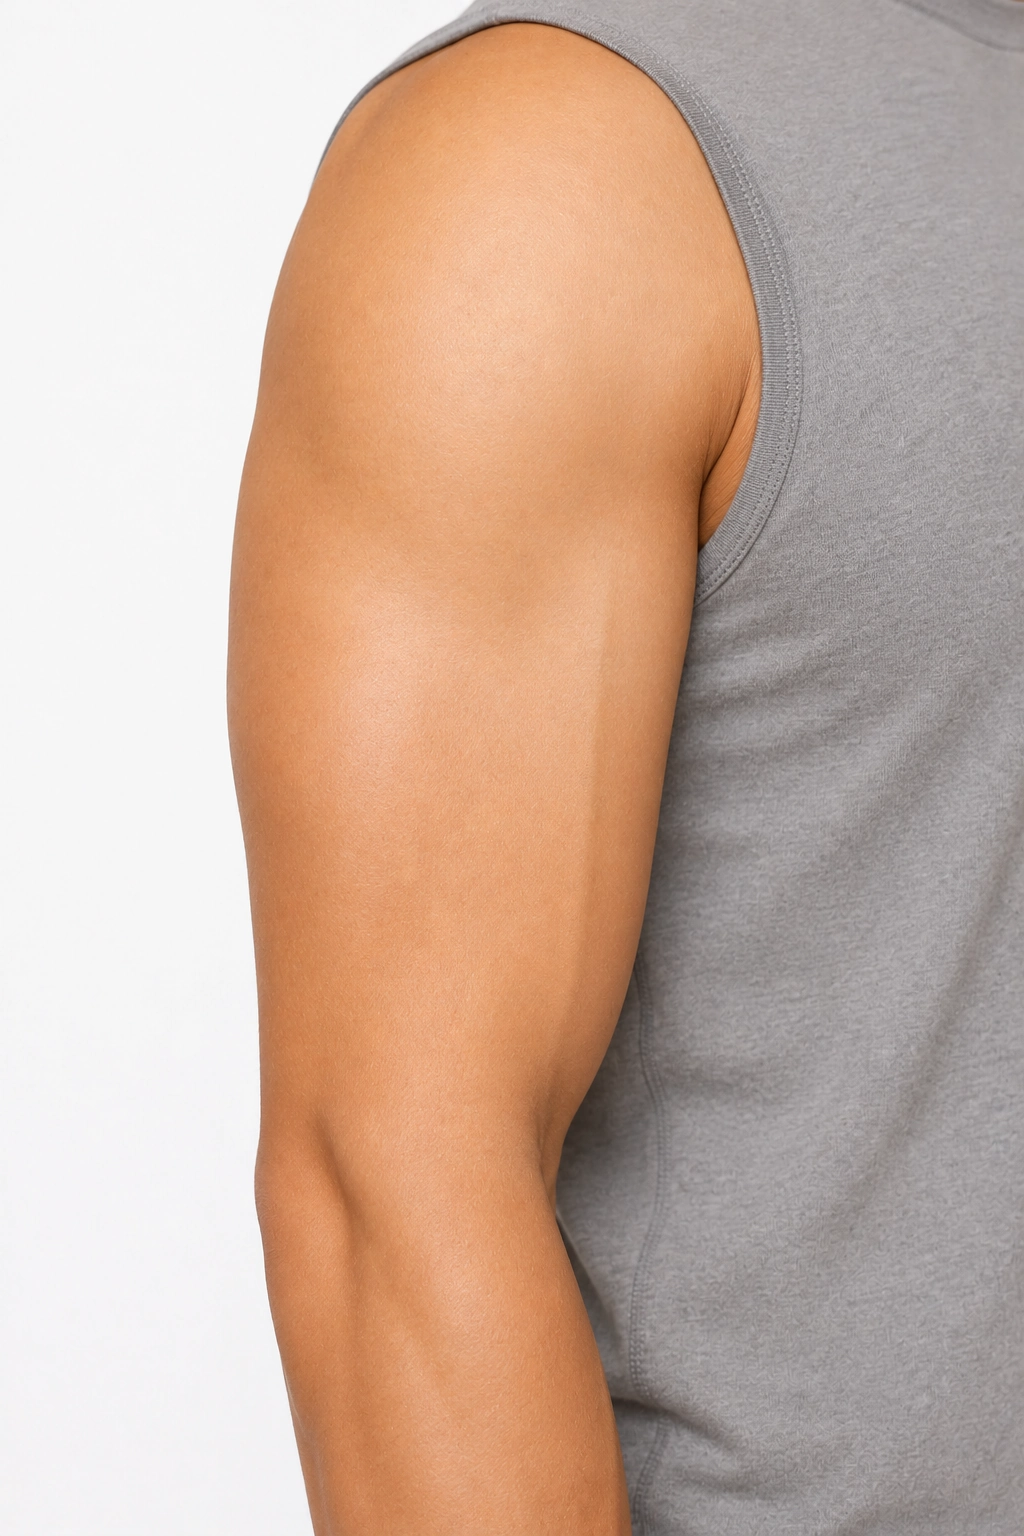 Use even, natural lightFace the camera toward the area
Tattoo Simulator reads and processes photos selected from your device locally in your browser. AI generation is a separate feature that sends uploaded images to model providers. Use only images you own or have permission to use, and review the Privacy Policy for data-handling details.
A screen preview cannot reproduce every detail of tattooing, including skin movement, healing, pigment, and an artist’s technique. Use it to communicate your idea—not to replace professional advice.
Reviewed:
Add a tattoo design to the tattoo simulator and choose a demo body photo or your own photo. Click Preview placement, then drag, resize and rotate the design. Download the PNG when you are ready to save the reference.
Yes. Using the tattoo simulator to place an existing design and download a preview does not use generation credits. Creating a new design in Image to Tattoo is a separate feature with its own credit requirements.
Use a clear, evenly lit photo with the intended skin area visible and facing the camera. Avoid strong shadows, filters and extreme angles so placement and scale are easier to compare.
Use a PNG, JPG or WebP image up to 10 MB. Clear edges and good contrast make placement easier to judge. You can also choose a saved design from My Gallery.
No. It is a still-photo reference for placement, approximate size and angle, not an exact preview. It cannot track a live camera or predict pain, ink safety, healing or exact physical size. Skin, movement and an artist’s technique can change the final result, so discuss the design and placement with your tattoo artist.
Photos selected from your device are read and processed locally in the try-on editor in your browser. Choosing an existing design from My Gallery retrieves that saved image. AI generation is a separate feature that sends uploaded images to model providers. See the Privacy Policy for data-handling details.
Placing, resizing or rotating an existing design and saving a PNG preview do not use AI or credits. AI design creation or editing is separate, with its cost shown before you start.
Open the tattoo simulator, upload a design and choose a body photo to compare its placement, size and angle. Save a PNG preview as a reference for your tattoo consultation.
Open the tattoo try-on editor